> ## Documentation Index
> Fetch the complete documentation index at: https://docs.blink.store/llms.txt
> Use this file to discover all available pages before exploring further.
# Framer plugin
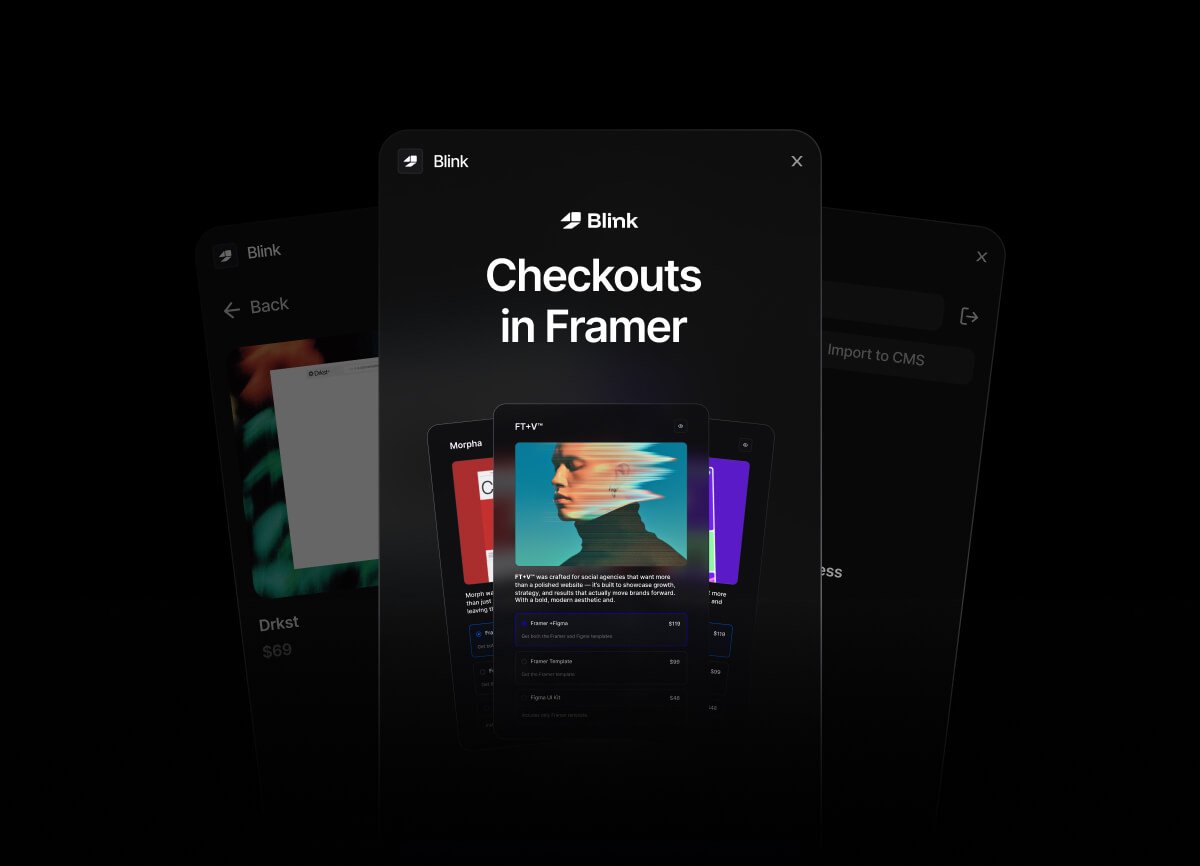
The Blink Framer plugin seamlessly bridges your Blink store with your Framer website. It allows you to effortlessly embed products into your designs, import your entire Blink catalog into a Framer CMS collection, and start selling directly from your Framer site in seconds.
## [→ Get the Framer plugin](https://www.framer.com/community/marketplace/plugins/blink/)
 ## **Getting Started**
To use the plugin, you must first connect it to your Blink account.
1. Open your project in Framer.
2. Launch the **Blink** plugin from the Framer plugin menu.
3. Click the **Connect** button.
4. A browser window will open asking you to securely authenticate with your Blink account.
* *Note: If a window does not open automatically, the plugin will provide a secure link for you to copy and paste into your browser.*
5. Once authorized, return to Framer. The plugin will automatically refresh and display your store's products.
***
## **Features & Workflows**
The plugin features two distinct tabs depending on how you want to build your store in Framer: **Products (Canvas Mode)** and **CMS Mode**.
### **1. Canvas Mode (Drag & Drop Buttons)**
If you are building a simple landing page or a single-product site, Canvas mode allows you to inject smart checkout buttons directly into your designs.
* Ensure you are editing a standard Framer canvas (not inside a CMS template).
* In the plugin, select the **Products** tab.
* Browse or search for the product you want to sell.
* Hover over the product and click the **(+) Insert Button** icon.
* A fully functional, customizable Blink Checkout button will instantly appear on your canvas linked to that specific product.
### **2. CMS Mode (Storefront Sync)**
If you are building a full e-commerce storefront with multiple products, the best approach is to sync your Blink catalog into a Framer Managed CMS Collection.
* Open the plugin and navigate to the **CMS** tab.
* Select the products you wish to import by clicking the checkbox on each product (or select all).
* Click **Import to CMS**.
* The plugin will automatically create a new Managed Collection called "Blink" in your Framer project.
* It will automatically generate and populate fields for the product's Name, Price, Description, Image, Preview Link, and a dynamic Checkout URL.
* You can now bind this CMS collection to your Framer components, allowing you to design dynamic storefront grids and product pages!
***
## **Important Requirements & Permissions**
To use the **CMS Sync** feature, the Blink plugin requires permission to manage your Framer CMS.
* When importing for the first time, ensure you grant the plugin the **CMS** permissions if prompted by Framer.
* If you accidentally deny these permissions, the plugin will disable the Import button and display an alert. You can fix this by managing your plugin permissions within your Framer project settings.
## **Troubleshooting**
* **Popup Blocked / Authentication Failing:** If you are using the Framer Desktop app or have strict popup blockers, the login window might not launch automatically. Simply copy the provided login link, paste it into your default browser (like Chrome or Safari), log in, and the plugin will detect the success automatically.
* **Missing Products:** Ensure your products are published and active in your Blink dashboard. The plugin will only pull active products.
## **Getting Started**
To use the plugin, you must first connect it to your Blink account.
1. Open your project in Framer.
2. Launch the **Blink** plugin from the Framer plugin menu.
3. Click the **Connect** button.
4. A browser window will open asking you to securely authenticate with your Blink account.
* *Note: If a window does not open automatically, the plugin will provide a secure link for you to copy and paste into your browser.*
5. Once authorized, return to Framer. The plugin will automatically refresh and display your store's products.
***
## **Features & Workflows**
The plugin features two distinct tabs depending on how you want to build your store in Framer: **Products (Canvas Mode)** and **CMS Mode**.
### **1. Canvas Mode (Drag & Drop Buttons)**
If you are building a simple landing page or a single-product site, Canvas mode allows you to inject smart checkout buttons directly into your designs.
* Ensure you are editing a standard Framer canvas (not inside a CMS template).
* In the plugin, select the **Products** tab.
* Browse or search for the product you want to sell.
* Hover over the product and click the **(+) Insert Button** icon.
* A fully functional, customizable Blink Checkout button will instantly appear on your canvas linked to that specific product.
### **2. CMS Mode (Storefront Sync)**
If you are building a full e-commerce storefront with multiple products, the best approach is to sync your Blink catalog into a Framer Managed CMS Collection.
* Open the plugin and navigate to the **CMS** tab.
* Select the products you wish to import by clicking the checkbox on each product (or select all).
* Click **Import to CMS**.
* The plugin will automatically create a new Managed Collection called "Blink" in your Framer project.
* It will automatically generate and populate fields for the product's Name, Price, Description, Image, Preview Link, and a dynamic Checkout URL.
* You can now bind this CMS collection to your Framer components, allowing you to design dynamic storefront grids and product pages!
***
## **Important Requirements & Permissions**
To use the **CMS Sync** feature, the Blink plugin requires permission to manage your Framer CMS.
* When importing for the first time, ensure you grant the plugin the **CMS** permissions if prompted by Framer.
* If you accidentally deny these permissions, the plugin will disable the Import button and display an alert. You can fix this by managing your plugin permissions within your Framer project settings.
## **Troubleshooting**
* **Popup Blocked / Authentication Failing:** If you are using the Framer Desktop app or have strict popup blockers, the login window might not launch automatically. Simply copy the provided login link, paste it into your default browser (like Chrome or Safari), log in, and the plugin will detect the success automatically.
* **Missing Products:** Ensure your products are published and active in your Blink dashboard. The plugin will only pull active products.